Page Contents
MAPP 3D Installation and Activation
Below are the steps to download, install, and activate MAPP 3D. Loudspeaker data is not included with the installation file. Please find the link at the bottom of this page or use the menu above (START > UPDATES) for loudspeaker data download instructions.
Download
Step 1: Visit meyersound.com, login or create an account.
Step 2: Visit meyersound.com/product/mapp-3d or from meyersound.com, click PRODUCTS in the page menu, scroll down, and select MAPP 3D to open the product page.
Step 3: From the MAPP 3D product page, click ACCOUNT in the page menu at the top.
Step 4: From the MY SOFTWARE tab, select the DOWNLOAD MAPP 3D button for the desired operating system version.
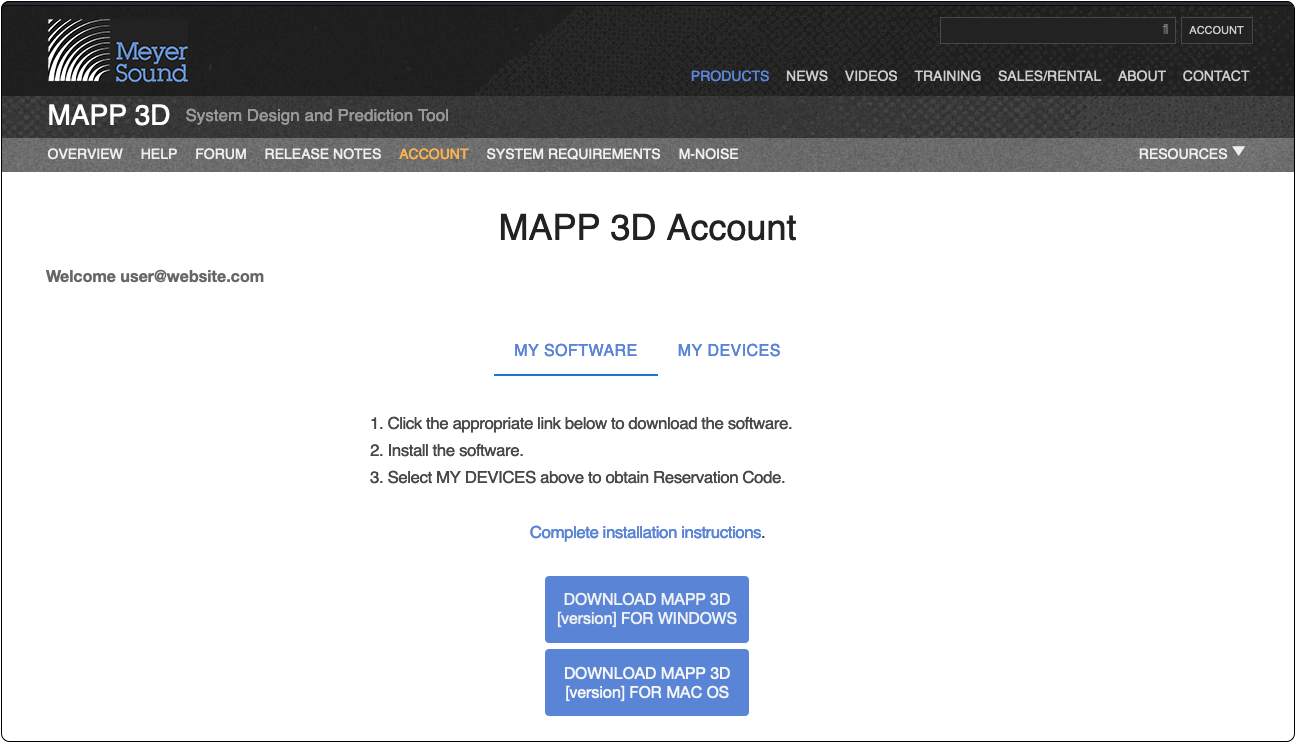
MAPP 3D Account Page, Download MAPP 3D
Application Installation Mac OS
Skip to Windows instructions (below)
MacOS Step 1: Locate, then launch the MAPP 3D_1.x.x.dmg application installer.
MacOS Step 2: Read and click AGREE to the terms of the end user license agreement.
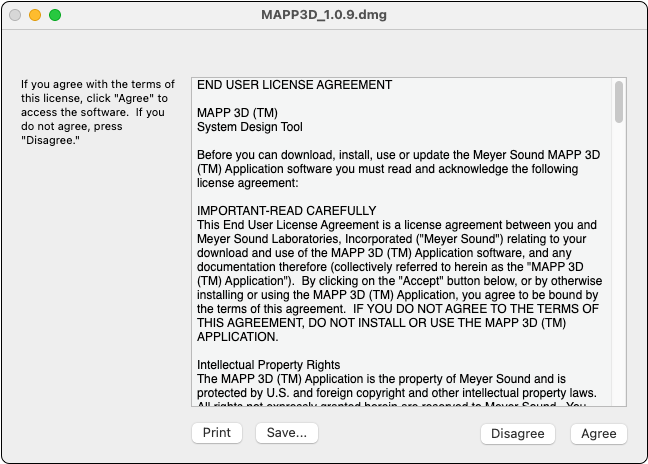
Read And Agree To End User Agreement
MacOS Step 3: Drag the application to the Applications folder.
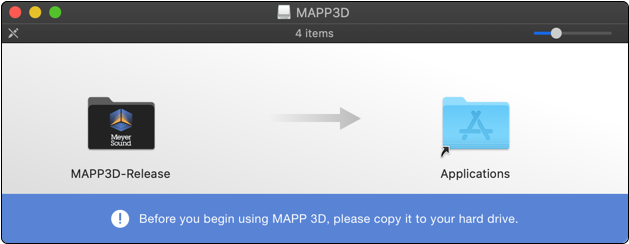
Drag App to Applications Folder
MacOS Step 4: Click the arrow/line button to eject MAPP3D.
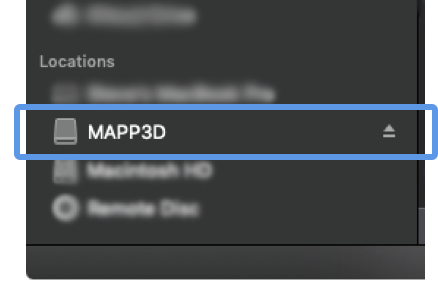
Eject MAPP 3D
MacOS Step 5: In the /Applications folder, locate MAPP3D-Release and click once. Select the MAPP 3D.app to launch the application.
NOTE: There may be a security warning when launching the application for the first time. This is normal, please click through.
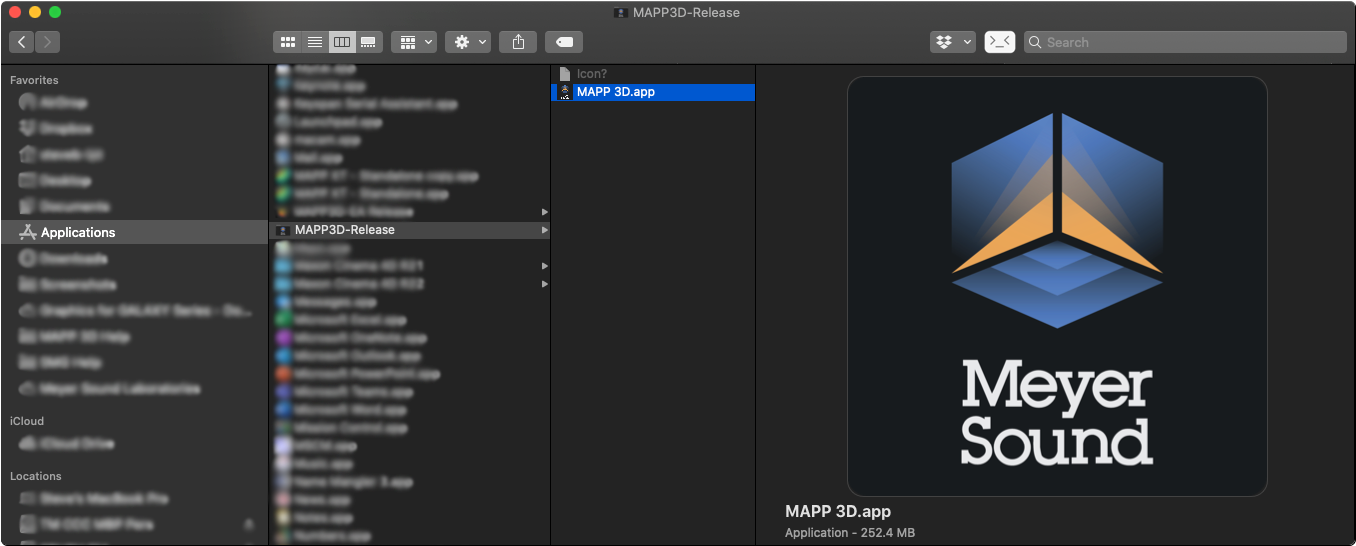
Launch MAPP 3D.app
Skip Windows instructions and proceed to Activate MAPP 3D (below).
Application Installation Windows
Win Step 1: Double-click the MSI application installation file.
Win Step 2: Click NEXT to start installation.
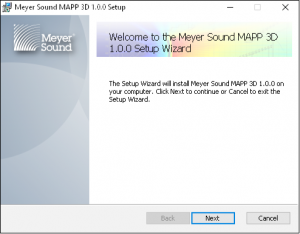
Start Install? – Click NEXT
Win Step 3: Read and click AGREE to terms of the end user license agreement.
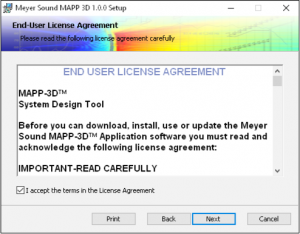
Agree to End User License Agreement
Win Step 4: Use the default location or select another location to install the application.
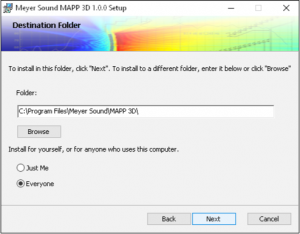
Select Installation Destination
Win Step 5: Select affirmative options in each of the dialogs.

Click Affirmative Choices for All Dialogs
Win Step 6: Launch the application from Explorer or the desktop shortcut.
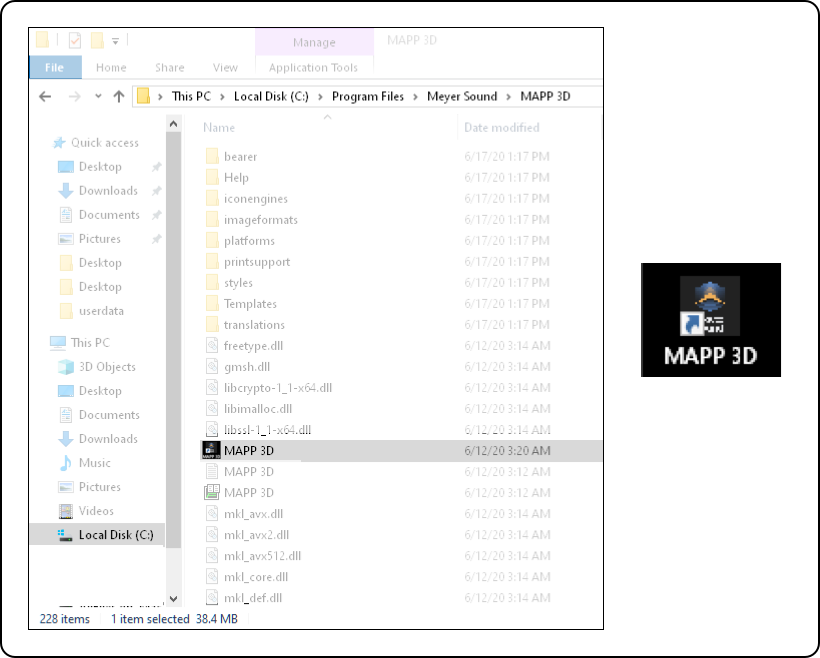
Launch MAPP 3D Application From Explorer or Desktop Shortcut
Activate MAPP 3D
When the application opens, the Welcome to MAPP 3D pop-up opens.
Step 1: Click the ACTIVATE MAPP 3D button.
NOTE: Opens web page: https://meyersound.com/product/mapp-3d/#account
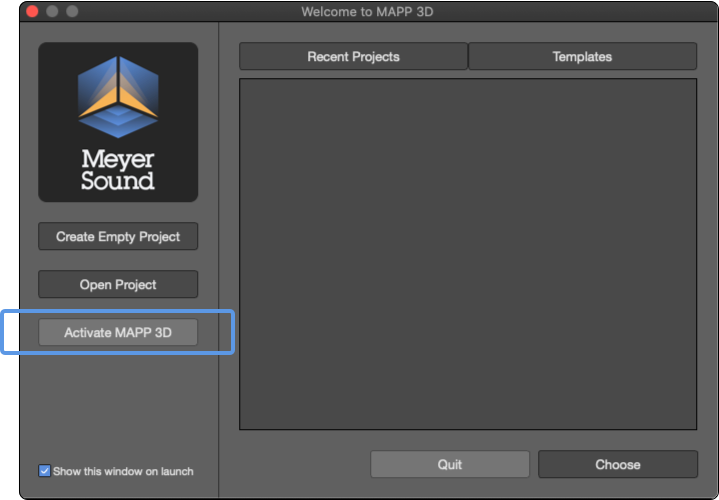
Click ACTIVATE MAPP 3D Button
Step 2: Select the MY DEVICES tab. Enter a user defined NEW DEVICE NAME and click the ADD button.
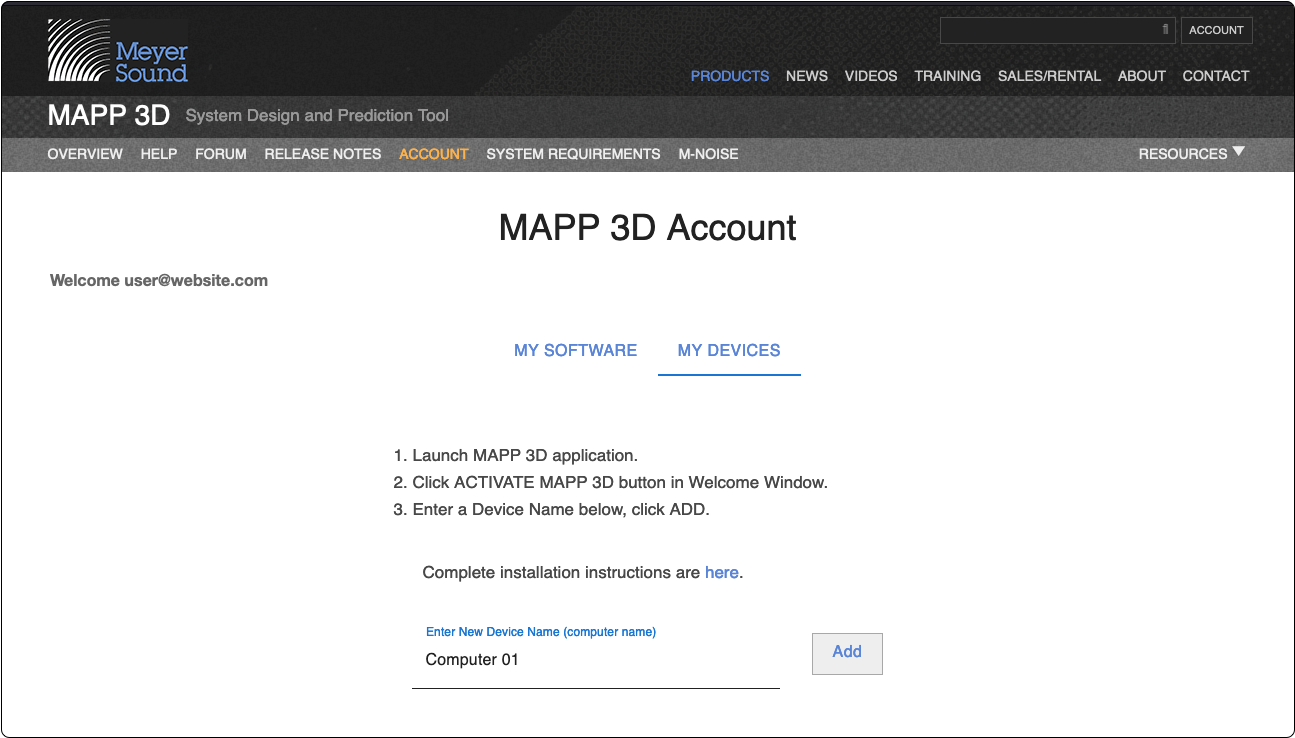
Enter New Device Name, Click ADD
Step 3: Hover your mouse over the Reservation Code and left-click to copy the Reservation Code to the clipboard (not the usual right-click or CMD-C/CTRL-C to copy).
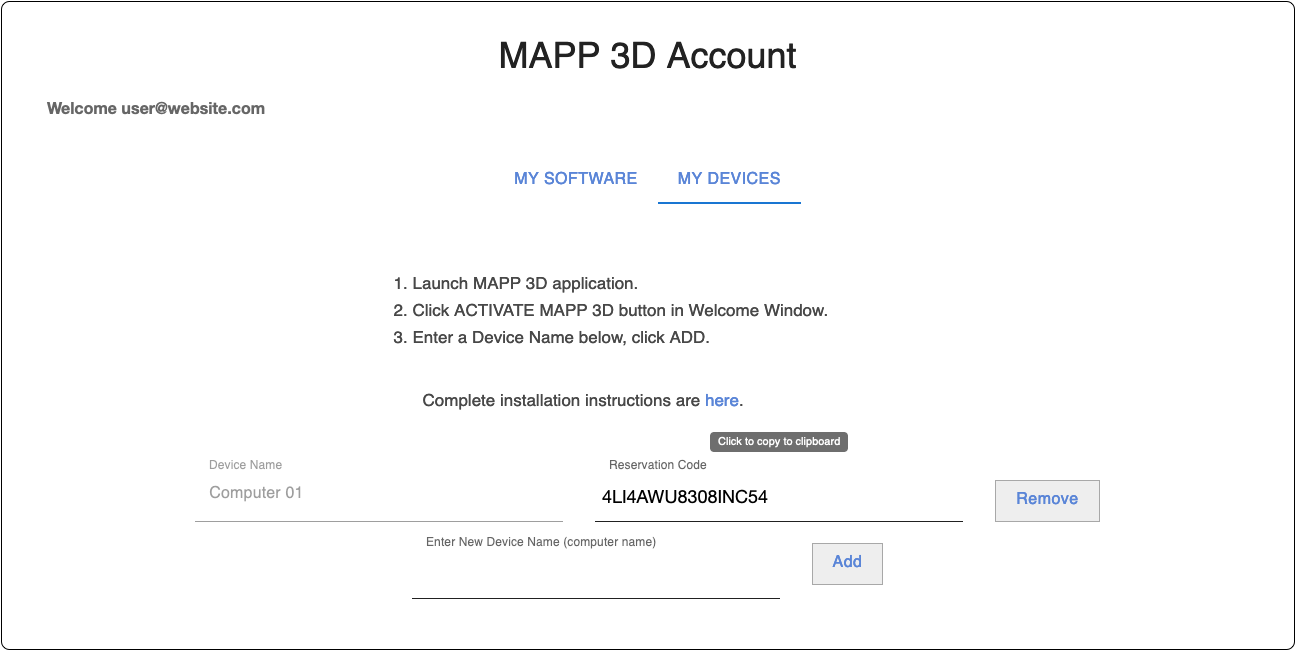
Click to Copy Registration Code
Step 4: Return to the MAPP 3D application with the open User Registration pop-up.
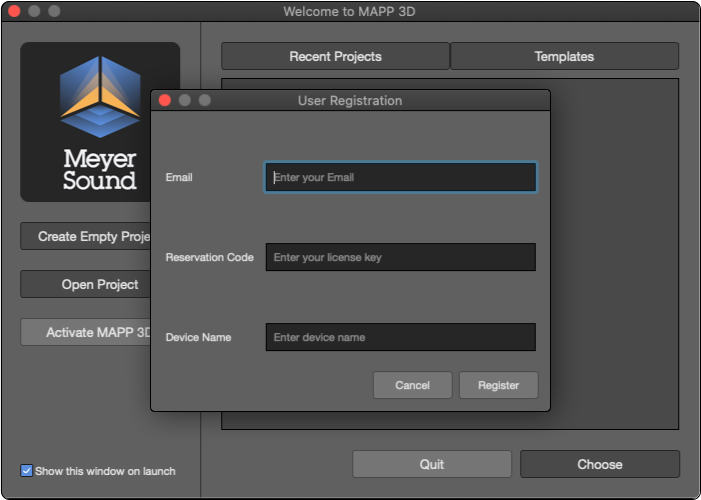
Return to the MAPP 3D Application
Step 5: Fill the fields of the User Registration window:
- Enter the same email address used to login to the web site
- Paste Reservation code
- Enter the associated Device Name
- Click REGISTER
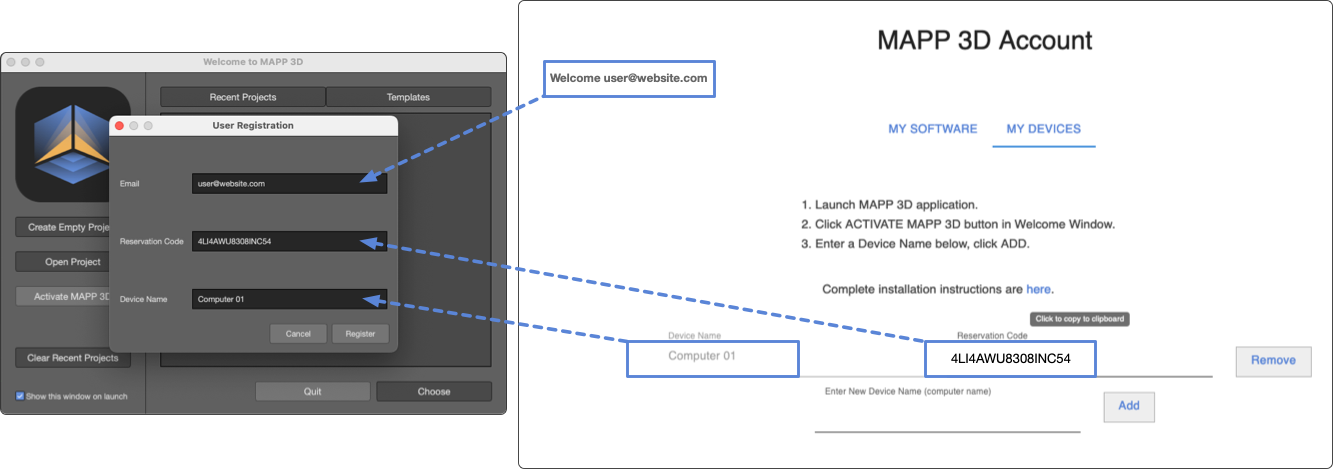
MAPP 3D – Enter the Username, Reservation Code, and Device Name, Click Register
IMPORTANT: Loudspeaker data is not included with the application. Please follow the link at the bottom of this page for instructions to download the loudspeaker data.
IMPORTANT: MAPP 3D must be opened once every 30 days while the host computer is connected to the Internet to validate the application authorization.
When successfully completed, the Successful Activation pop-up window will open (below). If this confirmation is not displayed, please visit www.meyersound.com/contact, and select Technical Support.
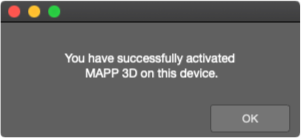
Registration Confirmation
Step 6: Click OK to close the Successfully Activated pop-up. The MAPP 3D Software Update window automatically opens. Select models of loudspeakers or select INSTALL ALL to download loudspeaker data sets. See the Application and Loudspeaker Data Updates page for further information.
Managing Devices
To activate or deactivate the MAPP 3D application, open the Welcome pop-up in MAPP 3D by launching the application or closing all open projects. Click the two-state button, Deactivate MAPP 3D / Activate MAPP 3D. When the application is deactivated, click the Activate MAPP 3D, which opens the User Registration dialog in MAPP 3D and the MAPP 3D Account web page. Use the information from the MAPP 3D Account web page to fill the User Registration dialog in MAPP 3D.
Two devices can be activated for each MAPP 3D account. From the application, select HELP > MANAGE MAPP 3D ACCOUNT to open MAPP 3D Account web page. Click MY DEVICES. Add and remove devices as desired.
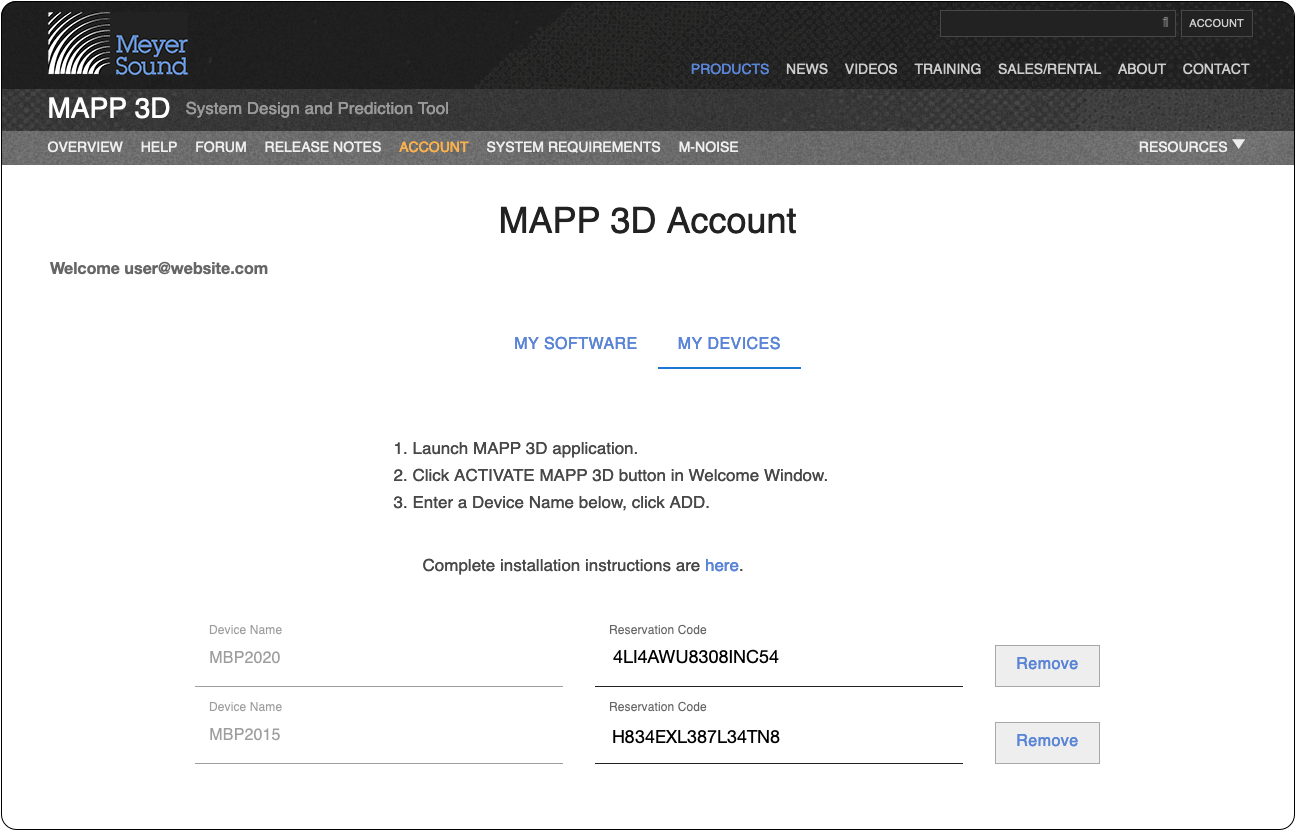
Account Management – Add / Remove Devices, Maximum Two Per User
What’s Next?
If this is the first help page you are viewing, please proceed to the Home page. Otherwise, proceed to the Application and Loudspeaker Data Updates page to install loudspeaker data.